반응형
1. Jenkins에 SonarQube Scanner Plugin 설치하기
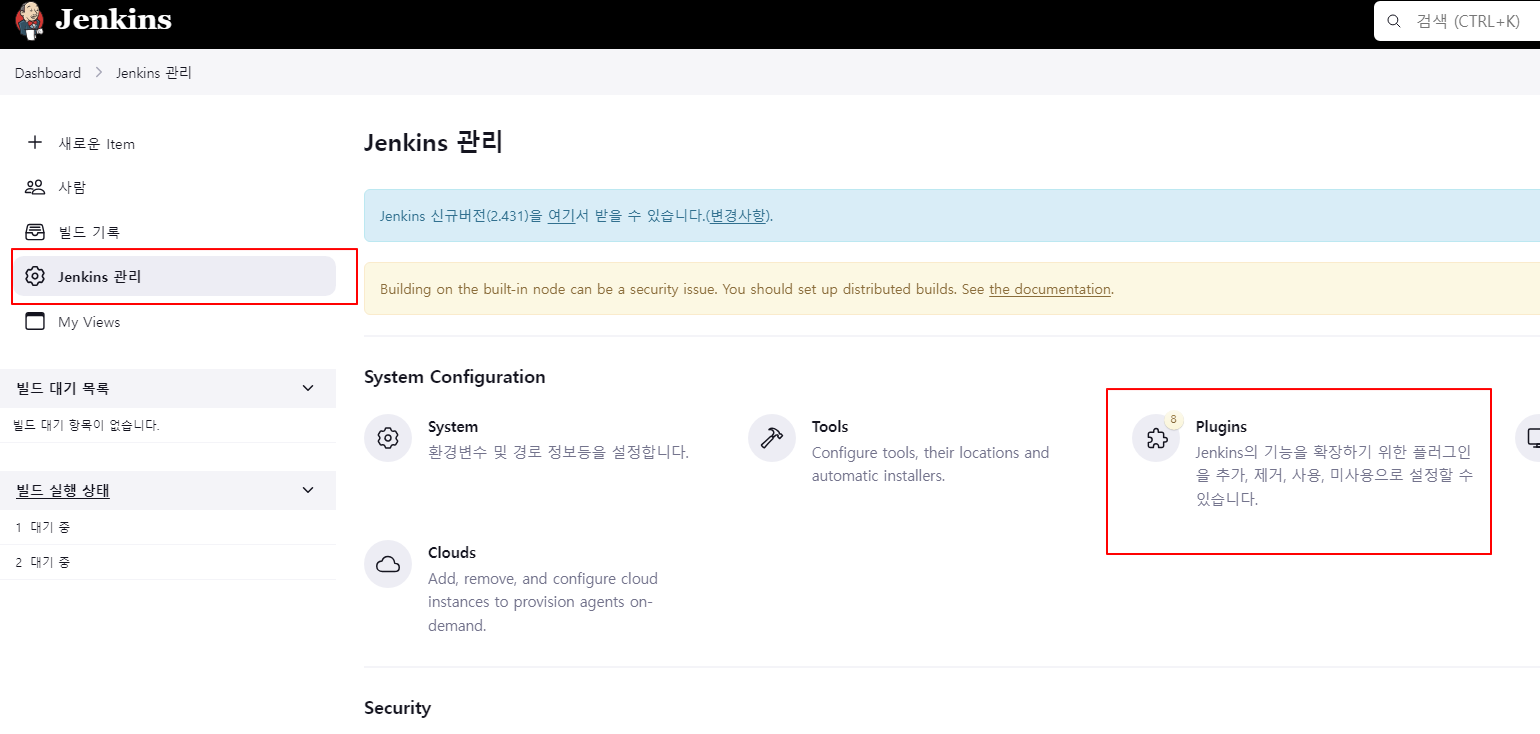
Jenkins 관리 > Plugins

Available plugins > SonarQube로 검색하면 위와 같이 SonarQube Scanner for Jenkins가 있고, install을 한다.
설치가 완료되면 Jenkins를 restart를 한다.
2. SonarQube Scanner 설정
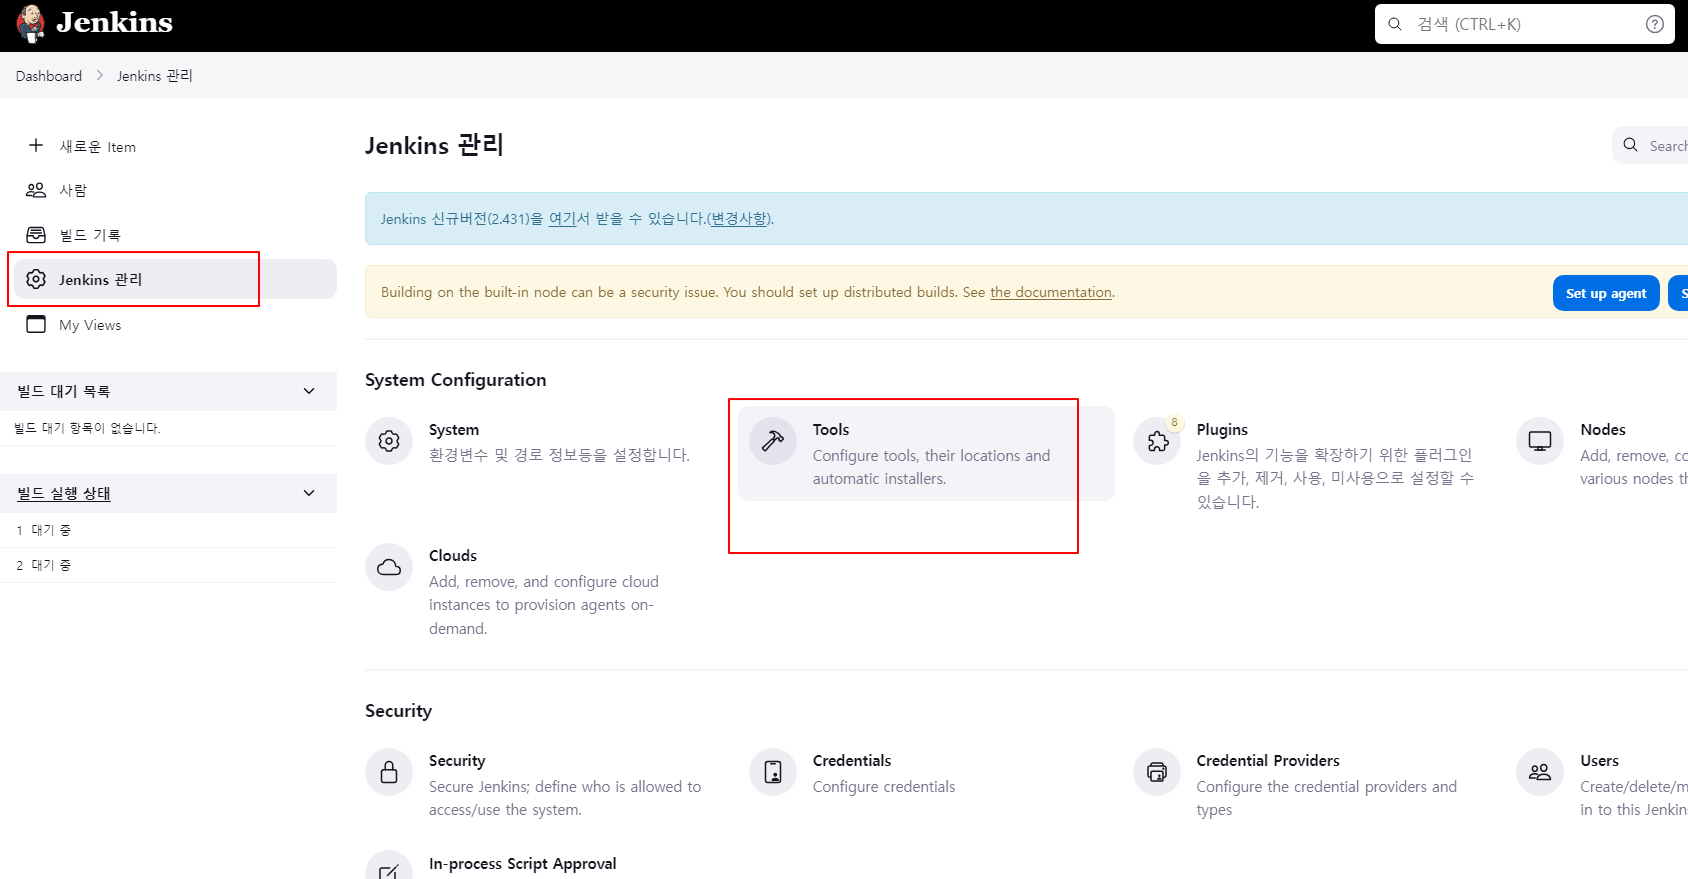

SonarQube Scanner installations를 찾음. Name을 정해주고 Save > Apply를 함.
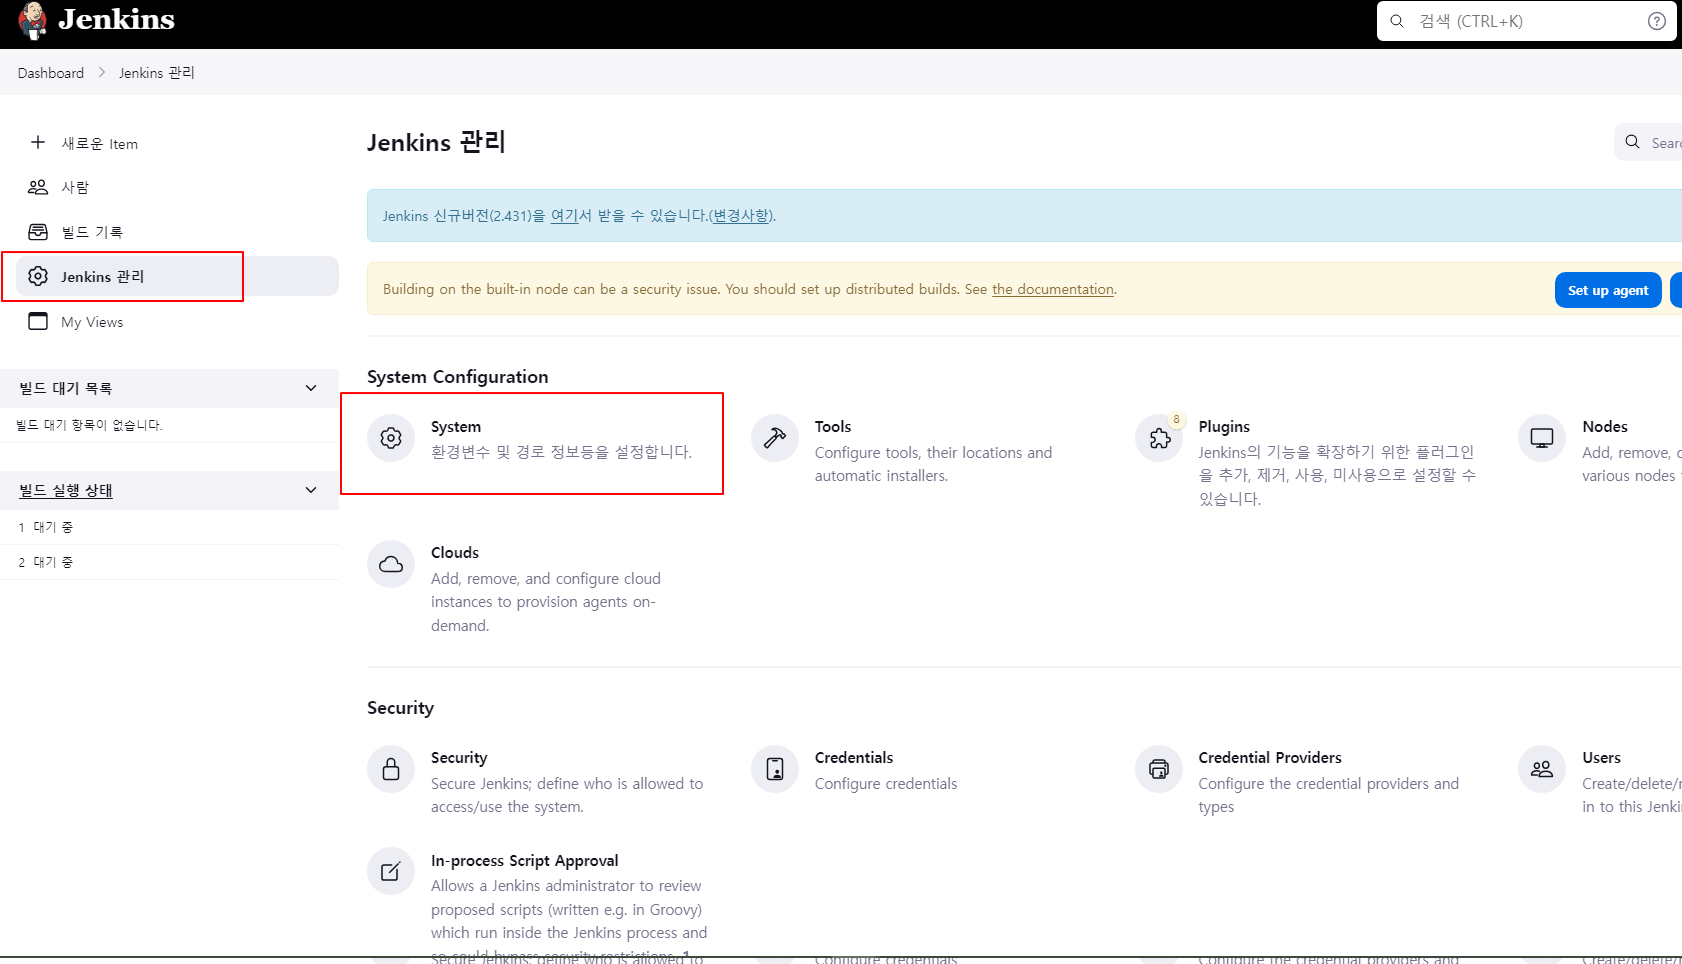
Dashboard > Jenkins 관리 > System
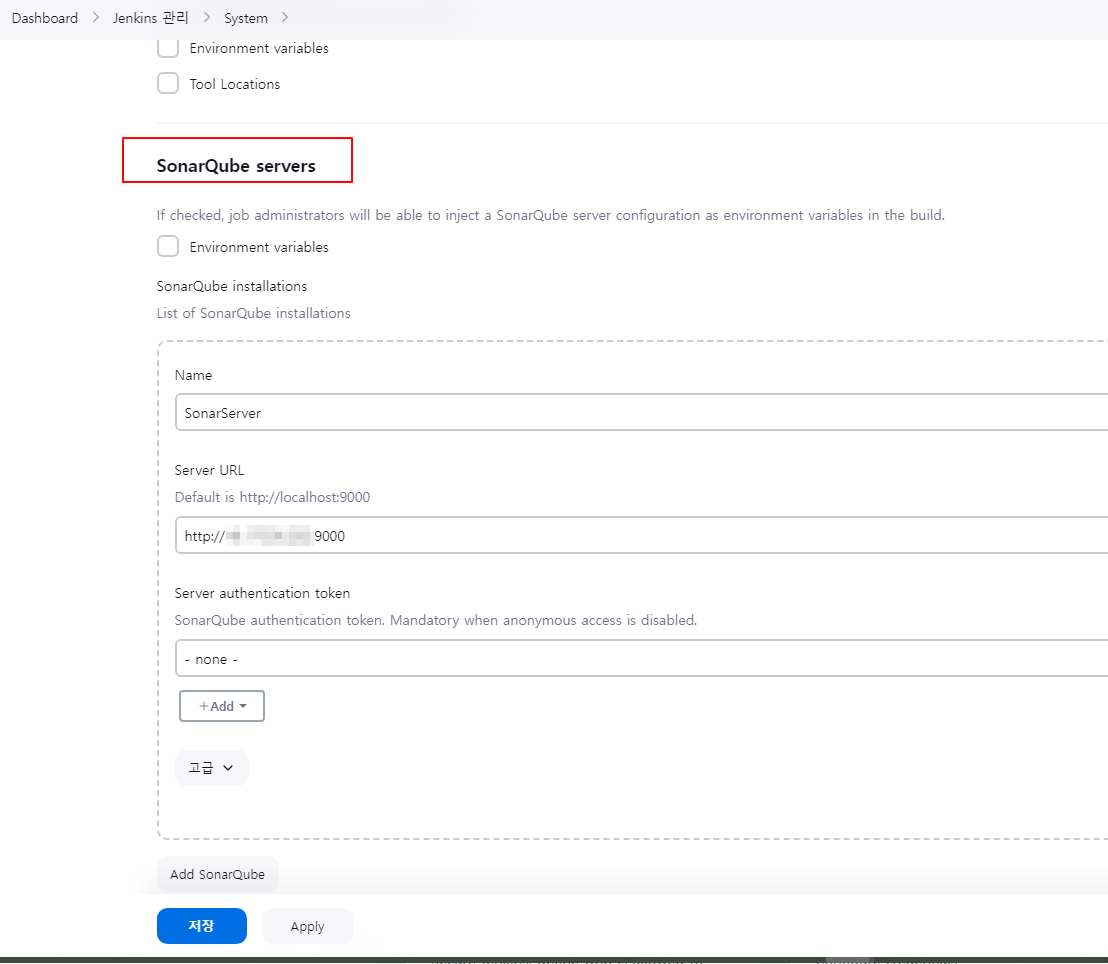
SonarQube servers를 찾고, Name과 Server URL을 찾아 정보를 입력해주고, 저장 > Apply를 한다
3. ITEM 만들기
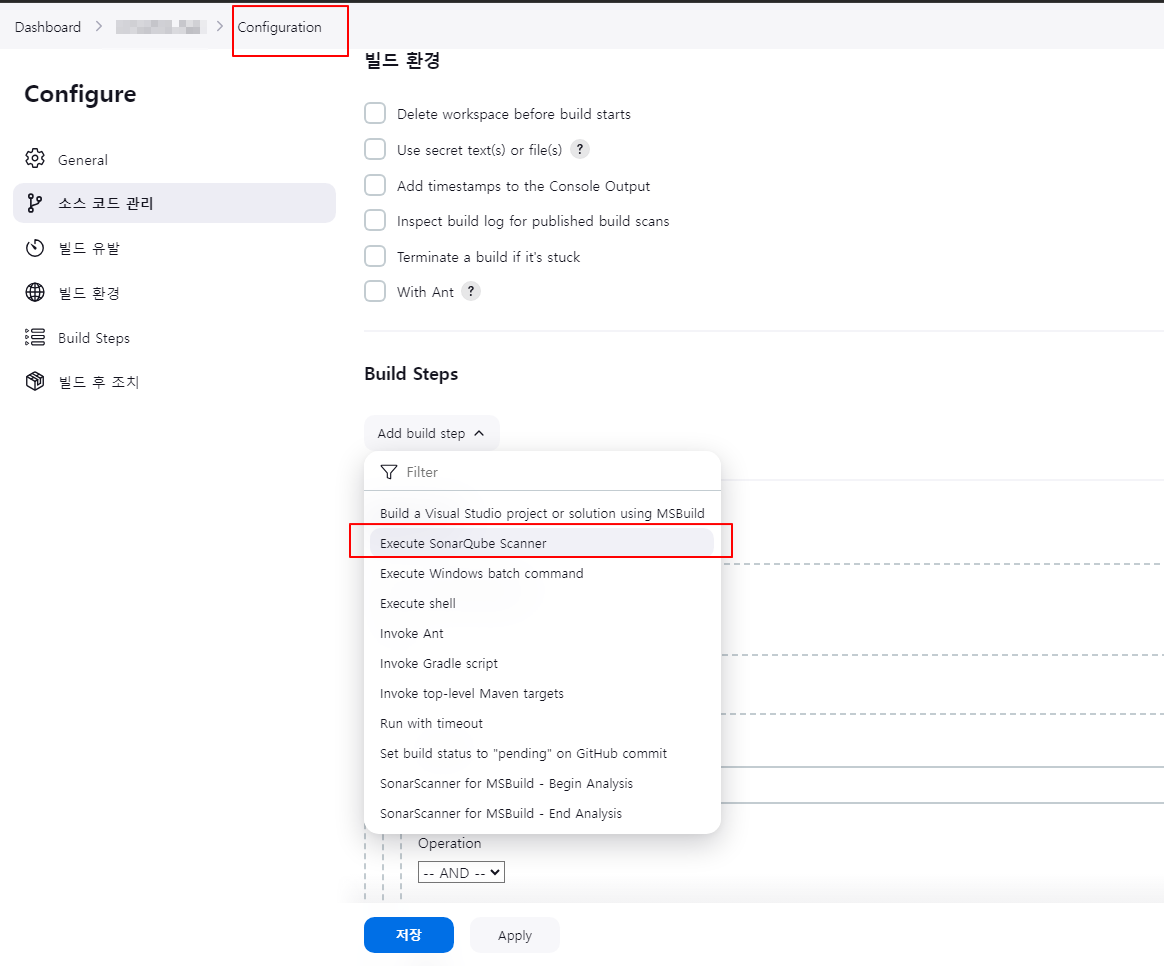
Execute SonarQube Scanner > Analysis properties에 아래와 같은 내용을 작성하고 저장>Apply 적용한다.
| sonar.login=f75146c211f9b42d3780f038349f2bf4139b44d7 # Sonarqube 토큰값 sonar.projectKey=test # Sonarqube 프로젝트 생성 시 Key 값 sonar.projectName=test # Sonarqube 프로젝트명 sonar.host.url=http://ip주소:9000/ # Sonarqube 스케너가 구동되고 있는 ip:port(필자의 경우 9000번 포트 사용) sonar.report.export.path=sonar-report.json detekt.sonar.kotlin.config.path=default-detekt-config.yml sonar.sources=./ sonar.sourceEncoding=UTF-8 |
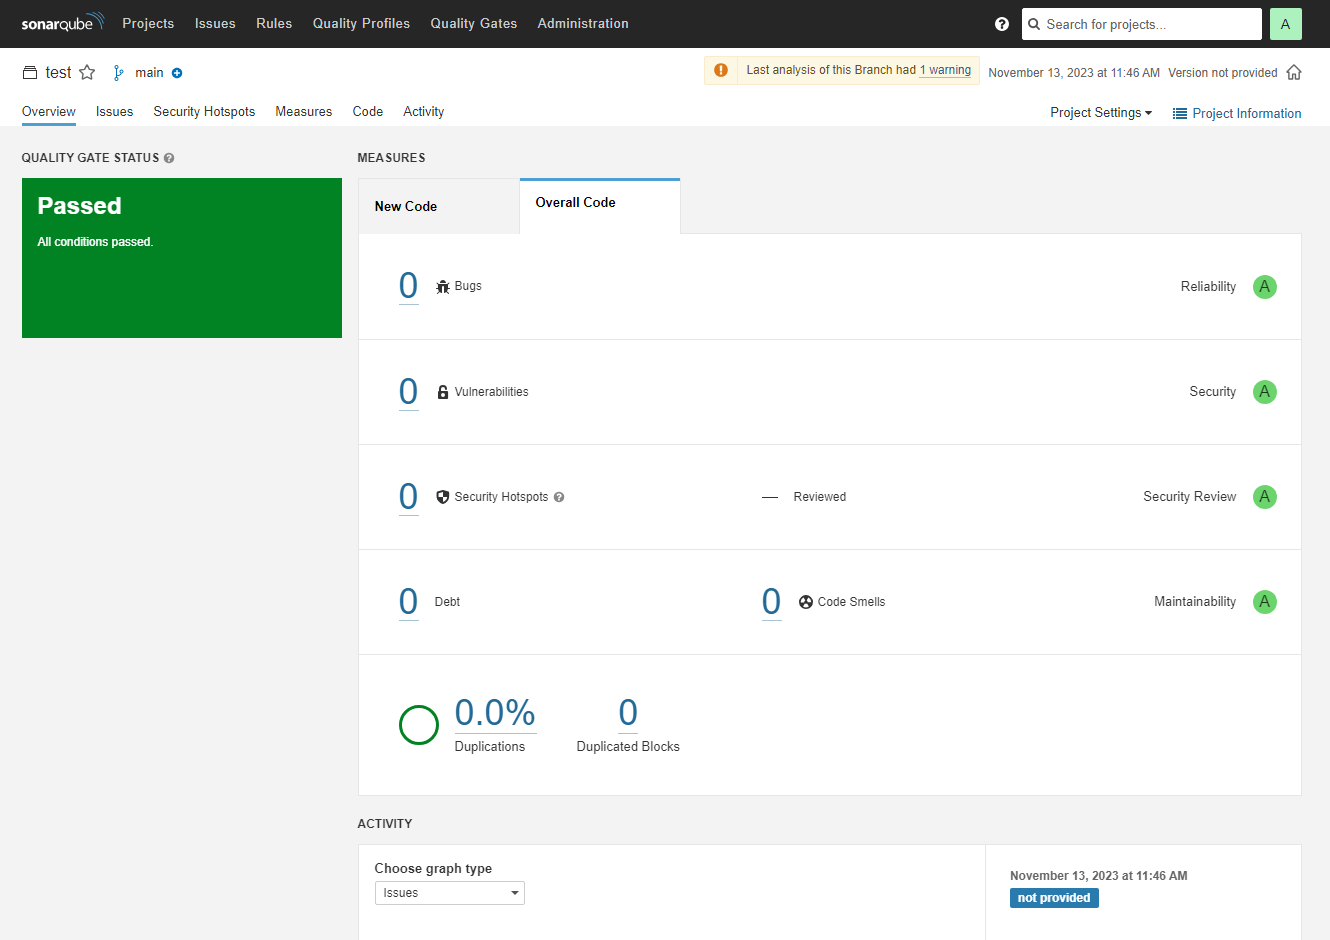
그 후에
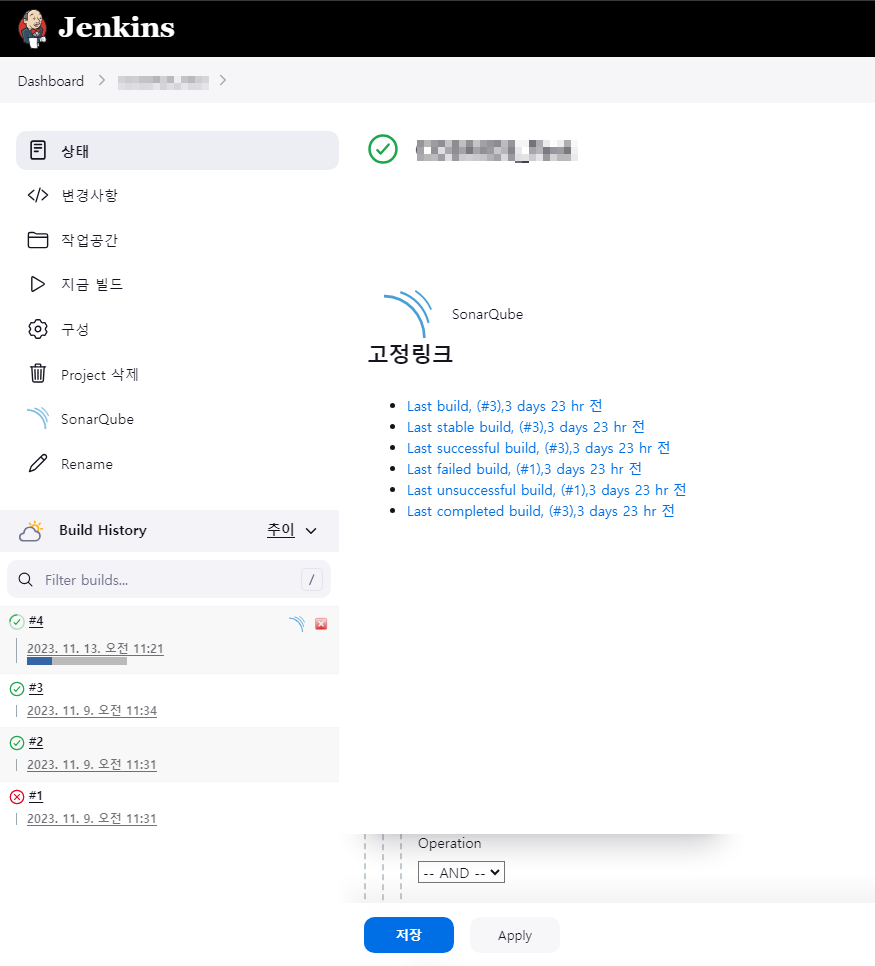
위 빌드가 정상적으로 완료되고 나면 아래와 같이 Sonarqube가 설치된 웹페이지에서 project 분석 Overiew가 출력된다.
반응형
'Languages&Library > Jenkins' 카테고리의 다른 글
| aborted because it references a local directory, which may be insecure. You can allow local checkouts anyway by setting the system property (0) | 2023.11.06 |
|---|---|
| Jenkins 빌드 후 조치 추가 (0) | 2023.11.06 |
| Jenkins msbuild 설정 (0) | 2023.11.06 |
| Jenkins에서 프로젝트 만들고 설정하기 (0) | 2023.11.06 |
| Window 에서 Jenkins설치 (0) | 2023.11.06 |


